
Welcome to my blog!
Today is the 7th day of my personal challenge:
SUCCESSFULLY CREATING A HYPER-REALISTIC PORTRAIT WITH MY RIGHT HAND IN 21 DAYS!
This article concludes the first week of this challenge with an exercise that continues the work of learning shadows and volumes, while introducing an additional difficulty: the concept of composition.
It is time to draw several objects to start organizing my drawing and learn how to evaluate distances. I am starting with simple objects that will require me to seek three essential things:
– the concept of proportion
– the concept of volume
– the concept of distance (spatial organization)
Step 1: Observing the model

As always, the first thing to do is to carefully observe my model!
In this composition, the light comes from different non-direct sources located on either side of the subject, and the background is completely black to make the whiteness of the objects stand out.
Three difficulties arise:
– centering the drawing
– respecting the proportions of the eggs relative to each other and their container
– managing to restore depth and volume through shadows and contrasts!
Step 2: Creating the sketch
To start a sketch, whether it is a face, an animal, or a still life like this one, I try to define a simple shape that roughly outlines the object to be drawn: the thumbnail sketch.
In this case, I could quickly pencil in an upside-down bell shape to give me a vague idea of the contours.
 I ALWAYS start from a global shape without trying to sketch the details!
Step 3: The detailed sketch
Much like a sculptor facing a block of stone, I first rough out the shape, then little by little, I refine and chisel to capture the likeness and detail.
I build my sketch step by step using visual landmarks:
Personally, I mentally draw a cross to determine the center of my drawing.


And that is where the secret lies: OBSERVE without preconceived ideas!
In my case, my right brain is well-trained and makes my daily work as a wildlife artist much easier. However, for those who struggle to put this into practice, here is what you can do:
– save the photo of the model or print it out
– hide three-quarters of the model with a sheet of paper and start drawing what you see!
– then, little by little, slide the paper down and continue your drawing until the end
By following this method, you are not drawing a bowl with eggs but simply lines and strokes. You are calling upon your senses (drawing what you see!) rather than the idea of what you think you are drawing!
There we go! I have once again gone well over my 15-minute limit!
See you tomorrow for the finishing touches on this first composition exercise, including the placement of volumes and contrasts!
See you tomorrow!
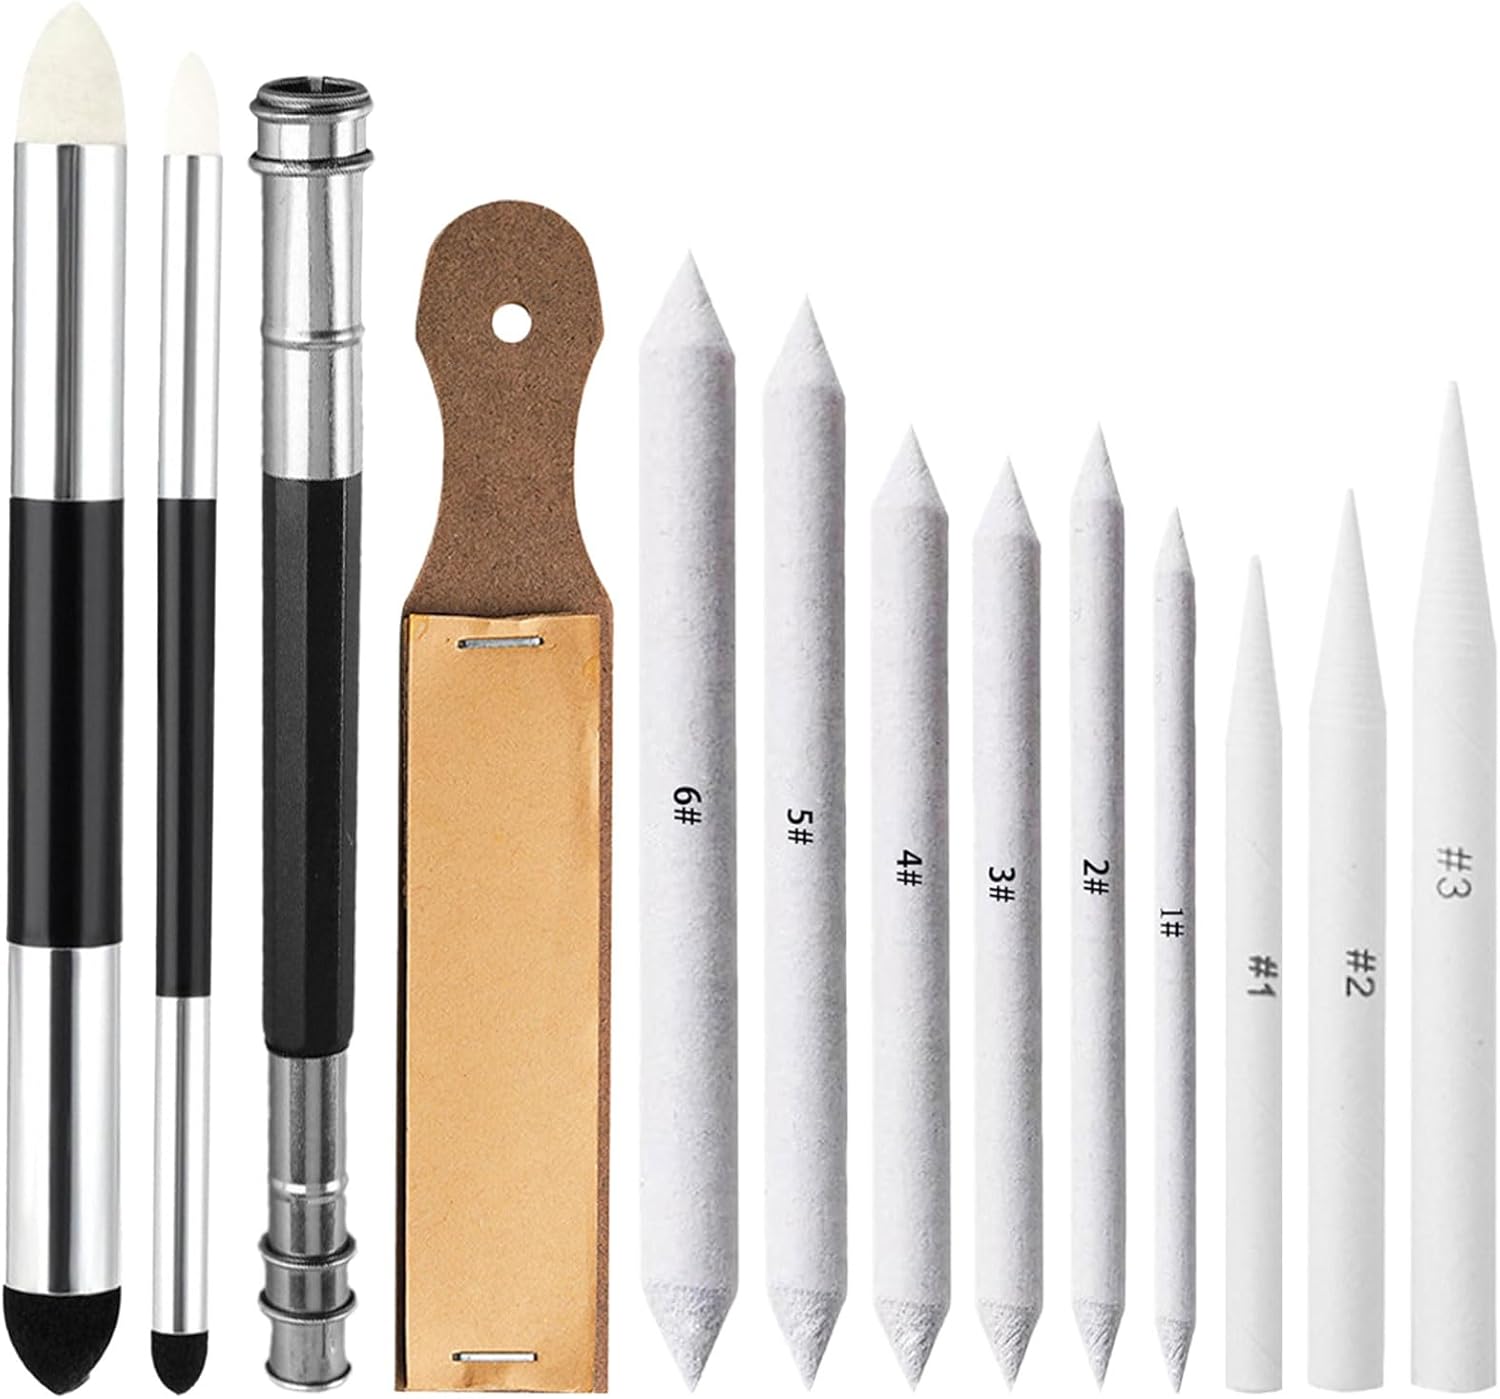
│ 🛒 MATÉRIEL RECOMMANDÉ POUR CE TUTO │ │ (Liens affiliés Amazon — prix identique pour vous) │


🔗 Liens affiliés Amazon Associates — En tant que Partenaire Amazon, je réalise un bénéfice sur les achats remplissant les conditions requises. Cela ne change pas votre prix.