
Welcome to this new day of the challenge!
Today I continue to progress in controlling my right hand, and I am starting to connect my eye to it by working on shadows, which are essential for rendering volumes and the realistic appearance of things!
Shadows depend on several factors (the shape of the object, the light source, the surface of the object, etc.) but they always obey mathematical laws. A few lines and fifteen minutes wouldn't be enough; it would require an entire course!
In fact, type "sphere or cube shadow" into Google and you will be surprised to see the number of mathematical topics associated with these two words!!!
So, far be it from me to start lecturing on the different methods of calculating these shadows, as I am very far from having the expertise!
Besides, several online drawing sites have already produced high-quality and extremely well-documented articles on this subject. Plagiarizing them would serve no purpose, and I invite everyone who wishes to delve deeper into the subject to visit these articles via the links I am providing below:
Understanding how it works is a good start, but the essential thing for the success of my challenge is not to lose sight of what I am looking for in this shadow work exercise:
– acquiring the notions of volume in order to move from a flat drawing to a 3D drawing!
– perceiving the many values that range from white to black!
I chose to draw a sphere that is as realistic as possible, using shadows, light, and the gradient of these values to give it that 3D look.
Here is the photo I took of a white marble; let's observe it for a few moments before starting to draw:

But it is the contrasts, the difference between light and shadow, that make it perceptible!
I notice:
– the marble shows different tones ranging from pure white (the highlight) to dark gray, almost black (the cast shadow near the marble and the ground).
– the different gradients do not go, as in yesterday's exercise, from darkest to lightest (or vice versa) but pass from dark to light and light to dark alternately, making the part in the shadow appear lighter by contrast, for example!
– the shadow cast by the marble onto the surface is not completely black, and only its outline, as well as the contact area between the marble and the supporting surface, appears darker.

Image No. 1: the initial sketch
I traced the circle using a compass and I am drawing the outline of its cast shadow by hand. At this stage, the drawing is completely flat!

Image No. 2: the gradients
I trace my boundary line between shadow and light, my "terminator," and I start sketching as I learned in the previous exercise, taking care to respect the different tones.

Image No. 3: blending and contrasts
Using a cotton swab, I am going to "melt" the pencil strokes: this is blending!
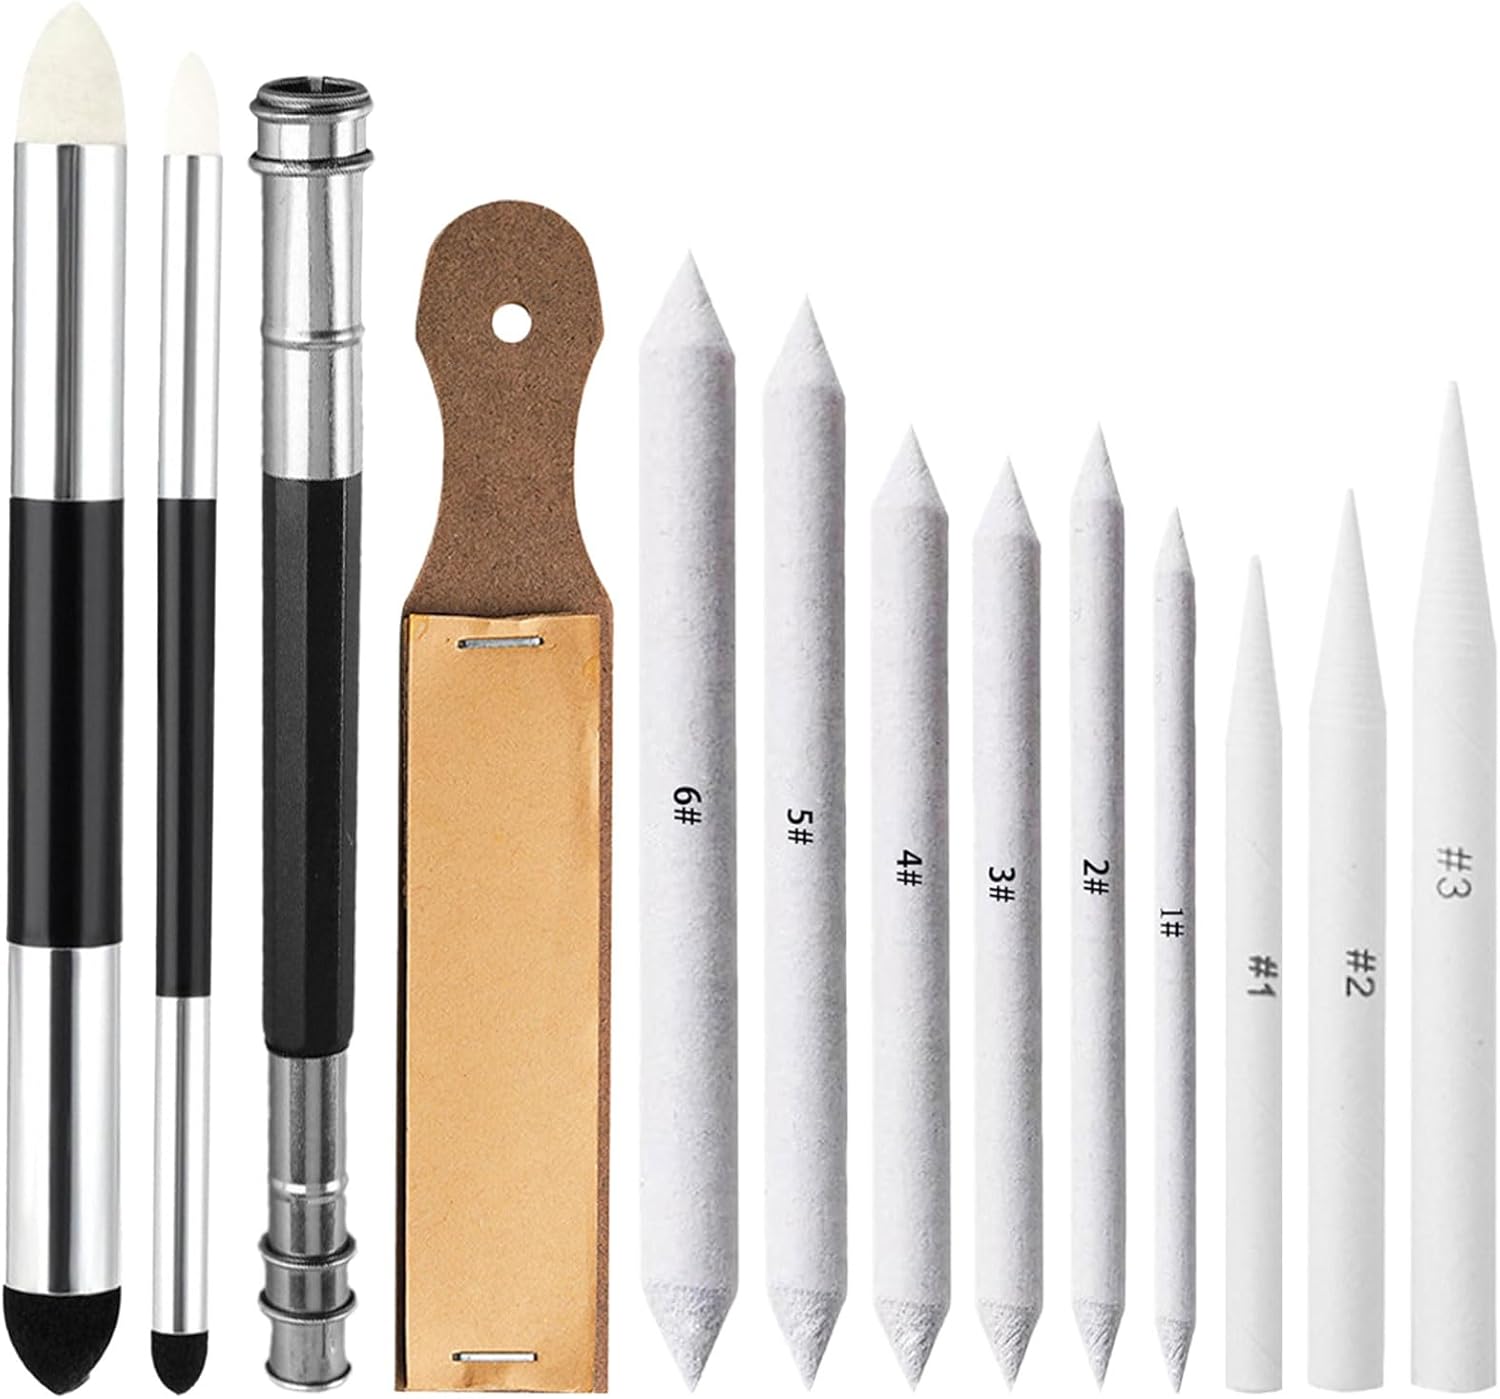
Generally, I use paper stumps (blending stumps) which allow for a blurred effect and unify the gradients, but my little cotton swab, even if it is less precise, fulfills its role perfectly!


There we go! My 15 minutes are well over!!!
I still have trouble controlling my right hand, and the exercise of contrasts and gradients was real torture for me!!!
Tomorrow, the same thing but with an... egg!!!
See you tomorrow!
│ 🛒 MATÉRIEL RECOMMANDÉ POUR CE TUTO │ │ (Liens affiliés Amazon — prix identique pour vous) │


🔗 Liens affiliés Amazon Associates — En tant que Partenaire Amazon, je réalise un bénéfice sur les achats remplissant les conditions requises. Cela ne change pas votre prix.