
Today: The Right Eye
Welcome to the 16th day of my personal challenge:
21 DAYS to learn how to draw a realistic portrait with the right hand!
My sketch now has a "human face." Yesterday, I finished placing the main landmarks of the face—the positioning of the eyes, nose, and mouth. After verifying that everything was correctly placed, I also sketched the contours of the face, hair, and ears.
Step 1: Erasing the Landmarks

- I no longer need the guide lines, so I am erasing them (which is why it's important to be delicate when drawing them).
- I redraw the eyes, nose, and mouth by observing the model carefully, and I begin to shade and rectify the contours of the face, hair, and ears.
- I trace the outlines of the light reflection zones in the pupils to place them symmetrically (otherwise, it gives the drawing a "wonky" look, as these are the areas that will bring the gaze to life!
Step 2: The Main Shadow Lines of the Face

- As in the previous exercises, I will aim to structure the face and give it volume by placing the shadows.
- Just like with the egg or the sphere, I look for the core shadow—the terminator—and I trace it because it is my volume landmark.
- Thanks to it, I will create the round, bulging effect of the cheeks.
Step 3: Finishing the Right Eye

- This time, using my 2B pencil, I use a firmer stroke to clearly define the contours of the eye. Then, I start by darkening the pupils, taking care to keep the reflection zones intact!
- I redraw the eyebrow and apply my gradients and values, which will reinforce the impression of volume and give the drawing its realism. I take care to clearly mark the contrasts between the light areas where the light reflects on the skin of the eyelid and the dark areas accentuated by eyelash makeup.
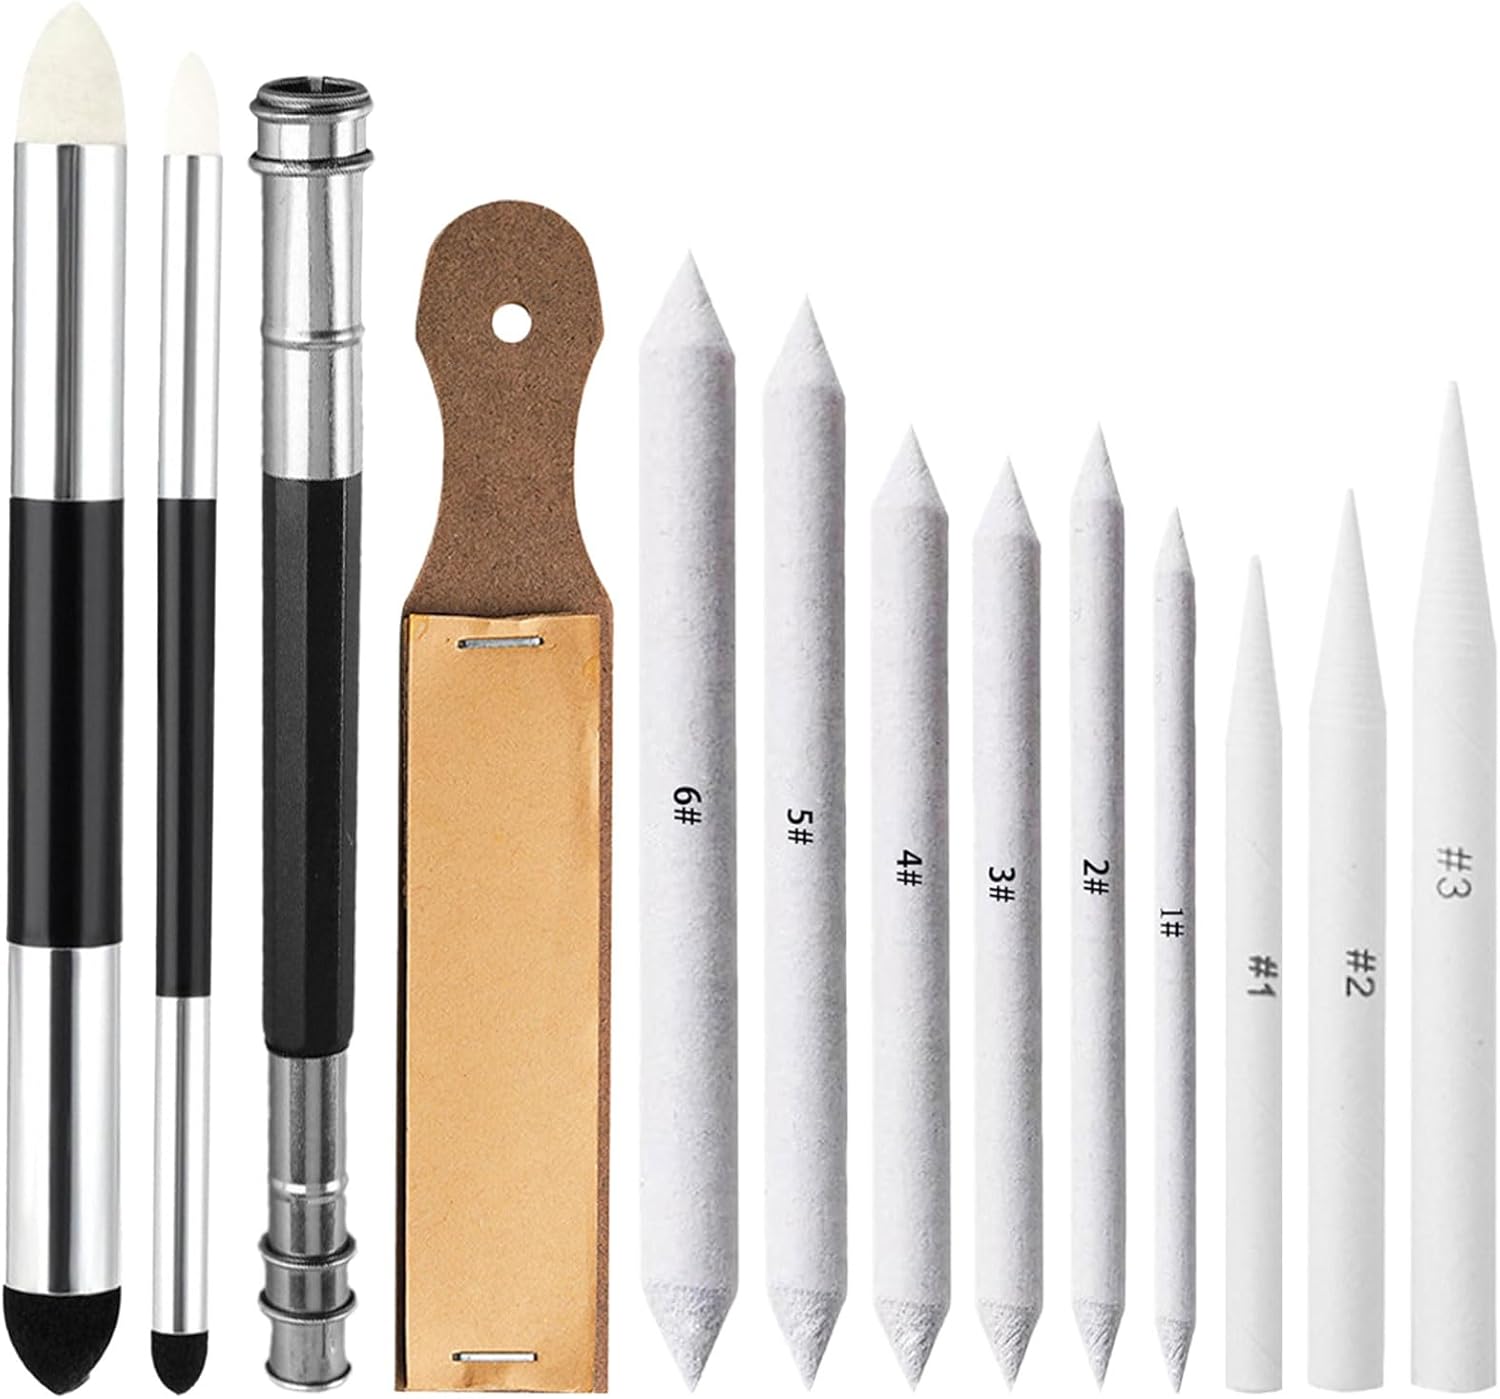
- My blending stump is extremely useful in this task, as it allows for more delicate nuances and high precision when refining the details.

There we go! The right eye is practically finished! I will continue tomorrow with the left eye using the same process!

See you tomorrow!


🔗 Liens affiliés Amazon Associates — En tant que Partenaire Amazon, je réalise un bénéfice sur les achats remplissant les conditions requises. Cela ne change pas votre prix.